Showing posts with label silk screen printing. Show all posts

Monday, 11 May 2015

Starflower Print Experiments #1

I have recently been getting back into the flow of experimenting more with screen printing, particularly using colour overlays with the starflower pattern that I made (it's called starflower because it reminds me of both a star and a flower)Below are some of examples of the print experiments I have been working on over the past couple of days, the finished prints will be turned into notebook covers and I may do a run of scrapbook paper as well. 
Let me know what you think


The darker green in this image is a metallic ink.

comparing the colour on yellow and white card stock.

colour overlay of dark green, light green and yellow.


I like that if you look closely you can see the dots from the silk screen.

Tuesday, 3 February 2015

Screen Printing techniques - Blending colours on the screen

I have been trying to incorporate some new techniques into my screen printing projects so that I am not always working with flat colour. One technique I have been experimenting with is colour blending on the screen. It's a technique that I haven't in a long time and is one of my favourite techniques to use as the end are usually quite impressive.

To start off you need to lay down the colours that you wish to use, so here I have gone with yellow and orange. You can use as many colours as you wish.


You then need to mix the two colours together with the squeegee so that they start to blend together.


After that just pull the ink across the screen as you would normally do. The first print tends to have a bit of a harsh line where the colours meet but as you continue to print the colours will blend into each other perfectly.


Below are the end results!


Thursday, 3 July 2014

pepper recipe cards

Here's another idea that I have been experimenting with over the past couple of weeks, Printed recipe cards!


Saturday, 28 June 2014

Ice Cream Notecards

I thought I would get into the spirit of summer and print some ice-cream themed notecards! The notecards are part of a selection of new products I am working on and should be available in my Etsy store in the next couple of weeks.


Thursday, 26 June 2014

Printed Birthday Cards

I have decided to try something new for my Etsy shop, I have debated doing printed greetings cards for a while and thought why not lets give it a go. So far I have only printed 2 designs using the same elements but there are more designs in the pipeline that will be coming over the next few months!


Sunday, 22 June 2014

Stopping Foul Printing

One of the most annoy things that can occur whilst printing is foul printing, this is when some of the emulsion has bee removed from the screen and it effects the way in which your image is printing.  Below is an image of one of the screens that I have put together and along the bottom of the images is a line where the stencils has washed off. Stopping this from printing is pretty simple.


All you need is some screen filler (below).


The screen filler is red / brown colour and all you simply do id brush it onto the screen on the places where you don't want the ink to go through.


I would recommend using an old brush for this as it can make your brushes go hard if it's not clean off properly.


Once you have painted the filer on the screen leave it to dry for about 10 minutes and then you are good to go! in regards to washing the filer off the screen it should come off no problem when you clean the stencil from the screen with pregasol or pregan paste.


Thursday, 19 June 2014

How to Burn your Image to a Screen for Printing

'Burning' your image to a screen is a pretty simple and a fairly quick process. 

First off you will need your freshly coated screen (dried of coarse), your stencils, a piece of glass and some lights (unless you have access to an exposure unit). Place your stencils on the side of the screen with the stencil, so the side you don't put the ink onto, and make sure you put your stencils on the screen the way you want them to print. 

If you are putting text onto a screen make sure you place it on the screen backwards, that way when you turn the screen over to print it will read the right way.

Once you have placed the stencils on the screen make sure to place the glass on top of your stencils and your ready to go. If you are using an exposure unit then the order is reversed a bit, you would put the stencils onto the glass bed and then place your screen (flat side down) on top of the stencils (if you are using an exposure unit and you have text you can put it on the glass the right way round)


I expose my screens using two halogen lights and I normally set the exposure time to about 4 minutes. The exposure time will depend on the wattage of your lights so you may need to experiment a bit to find the right exposure time for you.


Sometimes you will be able to see your image after the exposure is over (picture below) but it may not always be visible.


After you have exposed the screen you then need to wash the unexposed stencil off. You need to wash both sides and using your hand (or a sponge if you don't want to get your hand dirty) rub the stencil away. You will know of the stencil is coming away as your hand/sponge will turn green/yellow.

Keep washing until the stencil has been removed (hold it up to the light and if you can see through the image then its clean or keep washing until the screen stops feeling slimy). Once it's all gone you just need to leave your screen to dry and then your are ready to start printing.


Sunday, 8 June 2014

What is Screen Printing?

I get a lot of questions about what screen printing entails and when I explain it a lot of people don't understand what I'm talking about or they can't picture what I'm describing. So I thought I would create a blog post mini series about screen printing and how I do it, Now I am by no means an expert and I am still learning about the print process as I go but I'll show what I have learnt to date.

Firstly what is screen printing? 
screen printing is the process of forcing ink through a prepared mesh or fine material screen onto a surface (normally paper or fabric) to create an image or pattern

Below is a photo of one of the screens that I use, This particular one is about A2 in size (the printing area is A2) and it is a 43T screen.


43T may not mean anything to you but the T number lets you know how coarse the mesh is on the screen, so for  example the lower the number the coarser the mesh and the higher the number the finer the mesh. A 43T is usually used for textile printing and a 90T is normally for vinyl, plastic and plastisol inks and for printing onto paper and board. 

The majority of my screens are 43T and I find that they work just as fine as the 90T screen I when it comes to printing onto paper, however when you look closely at the image you will see small dots around the edge when using a 43T so for fine detail I would stick to a 90T or higher screen. The numbers for the mesh can range from 21T through to a 185T.

Next How do you put the image onto the screen? 

This step may not look it but it is actually pretty simple. The method I chose to use is the photo emulsion method, there are other ways of putting the stencil onto the screen using drawing liquid and screen block but I prefer using photo emulsion. Photo emulsion can be a bit messy and you do need to work quick so that the screen doesn't fog or start to expose. 

Firstly you will need to have already mixed up your photo emulsion (this doesn't come pre mixed so you will have to buy the photo emulsion along with the sensitiser) if it's not already mixed the emulsion will be blue, if it has been mixed with the sensitiser it will be a green colour. (I'll do a seperate post on mixing and preparing the photo emulsion). 

Photo emulsion (or photographic emulsion) is light sensitive and when exposed to light it binds itself to the screen to create a stencil.

You need to coat the screen with a thin layer of photo emulsion and store it in a dark place (as in pitch black) to dry for a few hours, (unless you are working in a print studio where they have designated dryers).

This is how your screen should look once coated.

Once dried you then need to place your black stencil (yes it has to be black) onto the screen and cover it with a piece of glass or plexi glass, using an exposure unit or in my case halogen flood lights you can then expose or burn your stencil onto the screen.

Why does the stencil need to be black?
In the burning process the light will bind the photo emulsion to the screen, meaning that it won't wash off unless you use a screen cleaner, Using a black stencil means the light can't pass through that area so when you wash the screen after exposing it under a light the emulsion underneath the stencil will wash off leaving the image behind. 

Depending on the wattage of your lights will depend on the exposure time, for mine the lights are 500w so I find an exposure time of about 3-4 minutes to be fine. Finding the exposure time for you may take a couple of attempts.


After you have exposed the screen you won't see the image on there don't panic the image is there you just need to wash the screen to remove the excess emulsion so your stencil can be used. When washing the screen you'll need to wash both sides of the screen, particularly the printing side, the best way to remove the emulsion is to use your hand a rub the surface. It will feel a bit slimy and you will end up with a green/yellow hand afterwards but it will wash off after a couple of washes. You will know when the screen is ready when the slimy feeling has gone and the screen feels smooth, after washing it you'll need to leave it to dry and then you are ready to print.

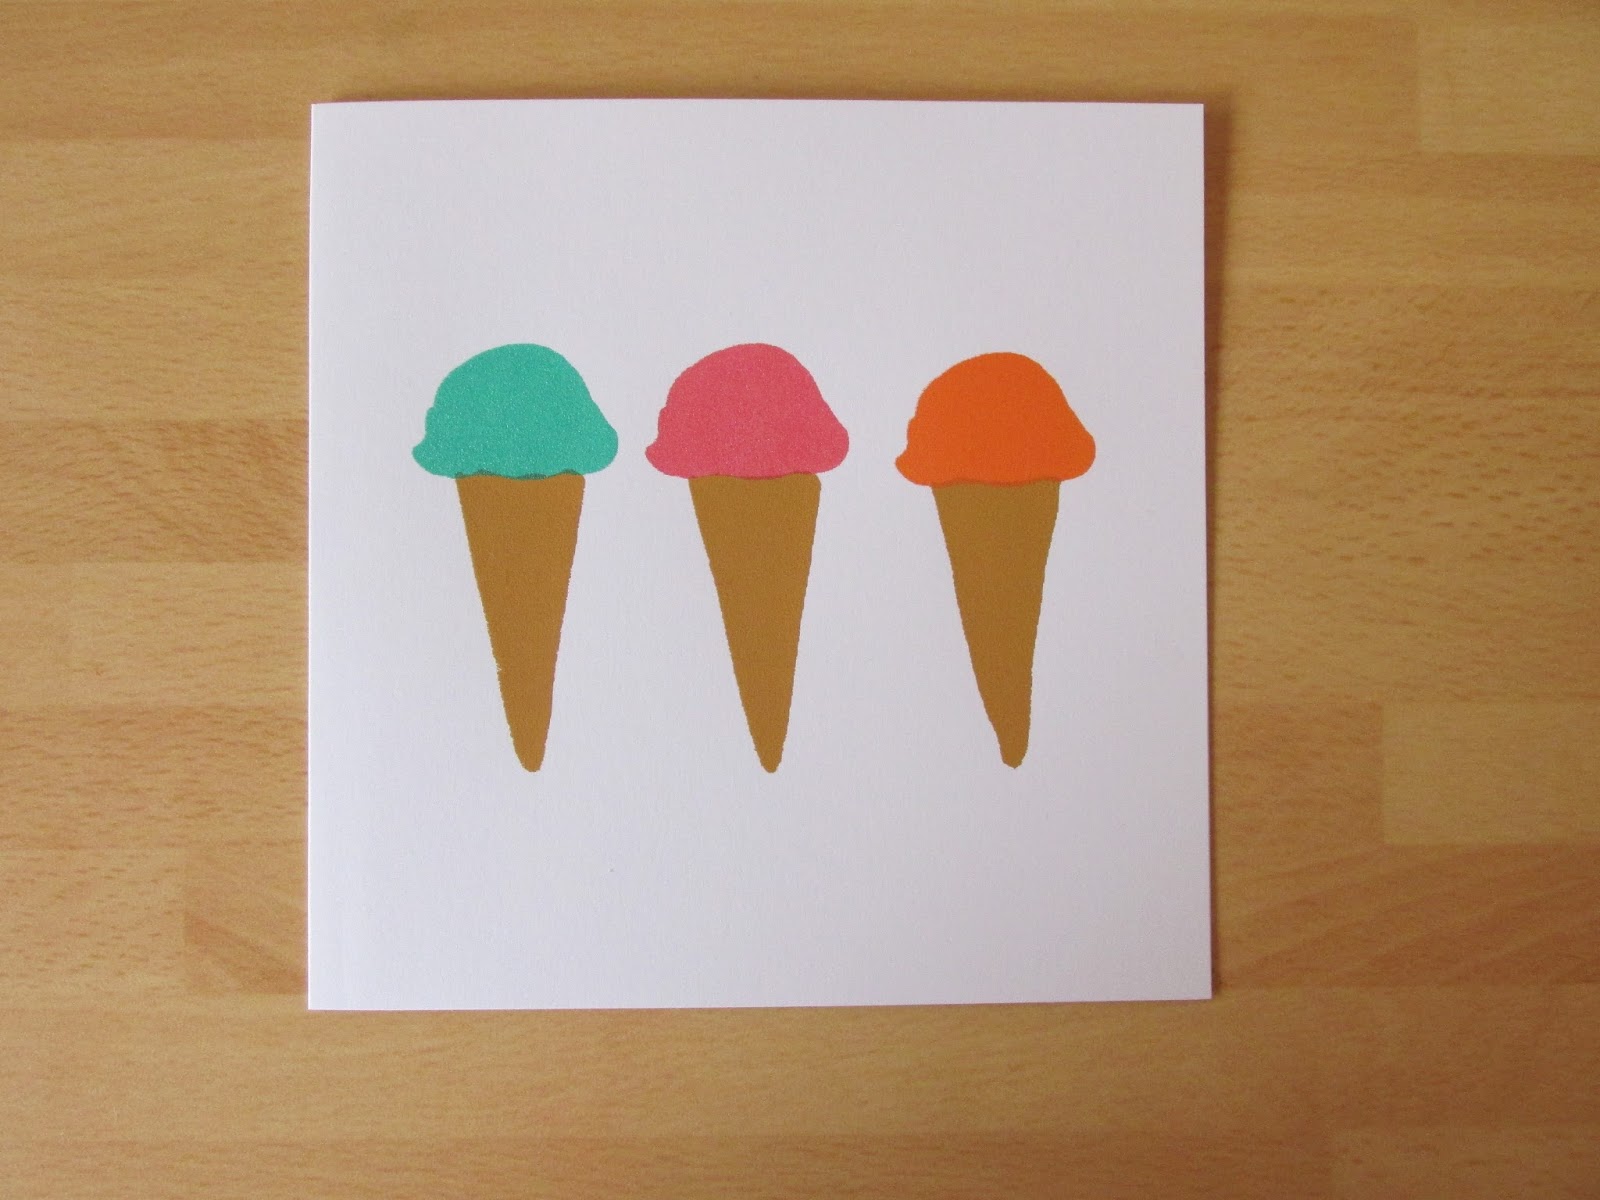
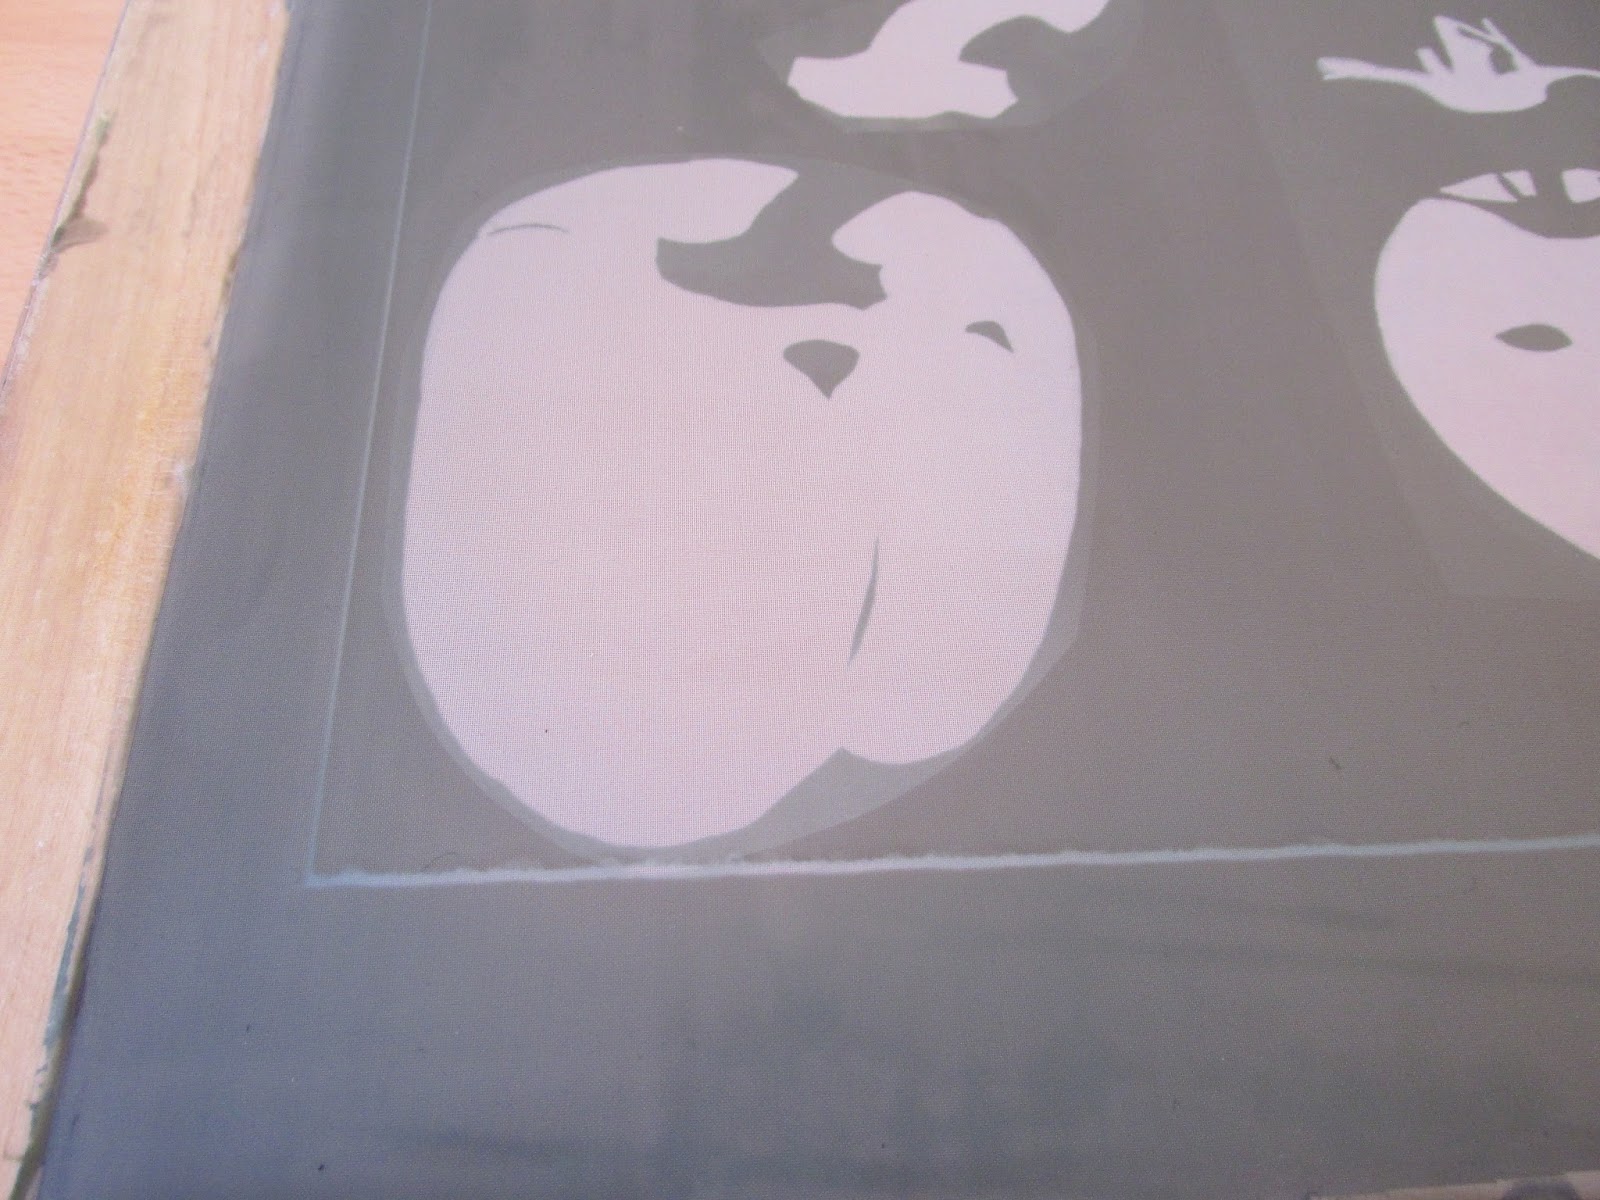
Below are example of some of the stencils I have created: 


Once the screen is dry and ready to print, you will need a squeegee, some ink and what ever medium you are printing onto. For my prints I mix up my own ink using acrylic inks and a acrylic printing medium, It's simple to mix it up all you need to do is mix 50% paint with 50% medium and mix well until the you can't see the medium anymore. If you want the ink to be more transparent then all you need to do is add in more base, for example 30% paint 70% medium.

REMEMBER don't print with paint straight from the tube as it will dry to the screen and you will not be able to remove the paint from the screen. it has to be mixed with the medium as the medium slows down the drying process. If you do print with paint straight from the container the only way to remove it is by using Pregan paste (an alkaline based heavy duty screen cleaner) or by replacing the mesh on your screen.

When printing it's best to keep the squeegee at 45 degree angle an don't press to hard as you'll push too much ink through the screen. You may need to pull the ink across 2 or 3 times to get an even coverage. Always pull the squeegee towards you as its easier to print than if you try to move it away form you. To stop the screen moving whilst you are printing you'll need to use one hand to hold the screen in place or ask someone to hold it for you, otherwise you can use a press to hold your screen.


I will do a few more posts in the next few weeks on mixing photo emulsion, creating stencils, mixing inks, how to stop foul printing and cleaning the screen. If there is anything else you would like to see feel free to let me know.

Sunday, 2 March 2014

Printed Thank You Cards

In my last post I mentioned that I was going to print some thank you cards to go with any etsy orders that I send out. Before I would just write a quick hand written note on a piece of paper but I decided that I wanted to put some more effort into the packaging of my orders.

So far I have only printed them in two colours, blue and orange, I am going to print some more of these in a few more colours so that they all don't look the same. The cards them selves are A6 in size and are printed onto a standard card stock. I'm not 100% sure what I am going to put onto the back of the cards I don't know whether to print a message or stick to hand writing each thank you message, I may try out a few different options before deciding.


Thursday, 16 January 2014

Garden Shed Studio!!

I mentioned in a previous post that I have a new printing space which I have nicknamed the Garden Shed Studio!! It's still a work in progress and I'm still on the hunt for a good storage solutions for all my paints, inks and screens but this is it soo far.

The shed is split into 2 sides the first side is where I prep my screens and do all my printing. On the wall are some halogen lights (500w each, 1000w in total) I use these to 'burn' the screens that I am using, the work tops are just normal everyday kitchen worktops and they can be folded up against the wall (hence why there are hinges at the back).


The other side I use for cutting paper and drying prints, as I don't have a proper drying rack the worktop will have to do. 


The boards on the wall are the boards that I printed for my final major project in my final year of uni, it just adds some colour in the shed instead of staring at white walls all the time.