Sunday 7 June 2015

Screen Printing with Coffee!

Did you know that you can print using other materials besides just ink? As long its liquid and can be pushed through a screen you can pretty much print with it, for example you can print with PVA Glue (and then sprinkling glitter over the printed area on the paper), Glow in the  dark paint, food colouring, pureed food etc. I all depends on far you are willing to experiment with different materials.

For the demonstration I printed using a Coffee and printing medium mix. As the coffee isn't a liquid mixing it with the printing medium helps to turn it into a liquid that will easily be pushed through the mesh. The smell of coffee does linger on the paper for a while but it eventually disappears, if you wanted the smell of coffee to remain it would be worth experimenting with a stranger coffee and maybe creating a mix that has more coffee than printing medium. 


You can also watch a video of me printing with the coffee here: 

DIY Screen Printing Press

I recently undertook a large print run for 500 cotton bags, for this I had to make sure that the design was printed in the same position each time. This is easier said than done when you don't have the luxury of a press in your studio so the next best thing was to use the screen clamps from Speedball.

The clamps enable you to create a press at home or in your studio. They are pretty easy to set up and use and they do hold the screens quite stead in position to print.

I set the clamps up on a separate board instead of on my work bench as I feel that the clamps would get in the way when I won't be using them. I also thought it would be easier to readjust the the clamps to suit different screen sizes.


Overall the clamps are a great addition to my studio and make a large print run a lot easier to register. However I did find that the clamps did get a bit stiff after a while, and I needed to apply some oil/grease to loosen them up.


Friday 5 June 2015

Screen Printing FAQ

I get many questions about the screen printing process and how it's done so I thought I would address some of those questions here on the blog.

Note that the answers are relevant to the processes that I do and each screen printer will/may have a different process to me.

1. What is Screen Printing 

In short it's method of printing that uses mesh material wrapped around a frame, an image is burnt onto the mesh and using a squeegee ink is pushed through the mesh to print the image.

For a more detailed answer check out my other blog post: http://helenjtaylordesign.blogspot.co.uk/2014/06/what-is-screen-printing.html

or you can check out some of the videos I have made on youtube: https://www.youtube.com/channel/UCEj0z3-Ui22GvcJzgAGyIJA

2. What materials can you print onto?

I currently print onto any paper or card stock, fabric (cotton bags and t-shirts) and Plastic/Acrylic sheets.

3. What if I want to have something screen printed onto a material not mentioned?

Get in touch at helenprintdesign@gmail.com with a description of what the material is and I can see if it's possible.

4. Can you print onto rounded objects?

No because of the nature of the screens the material needs to flat or relatively flat to be able to print onto it.

5. Do you print using machines?

No I print everything by hand

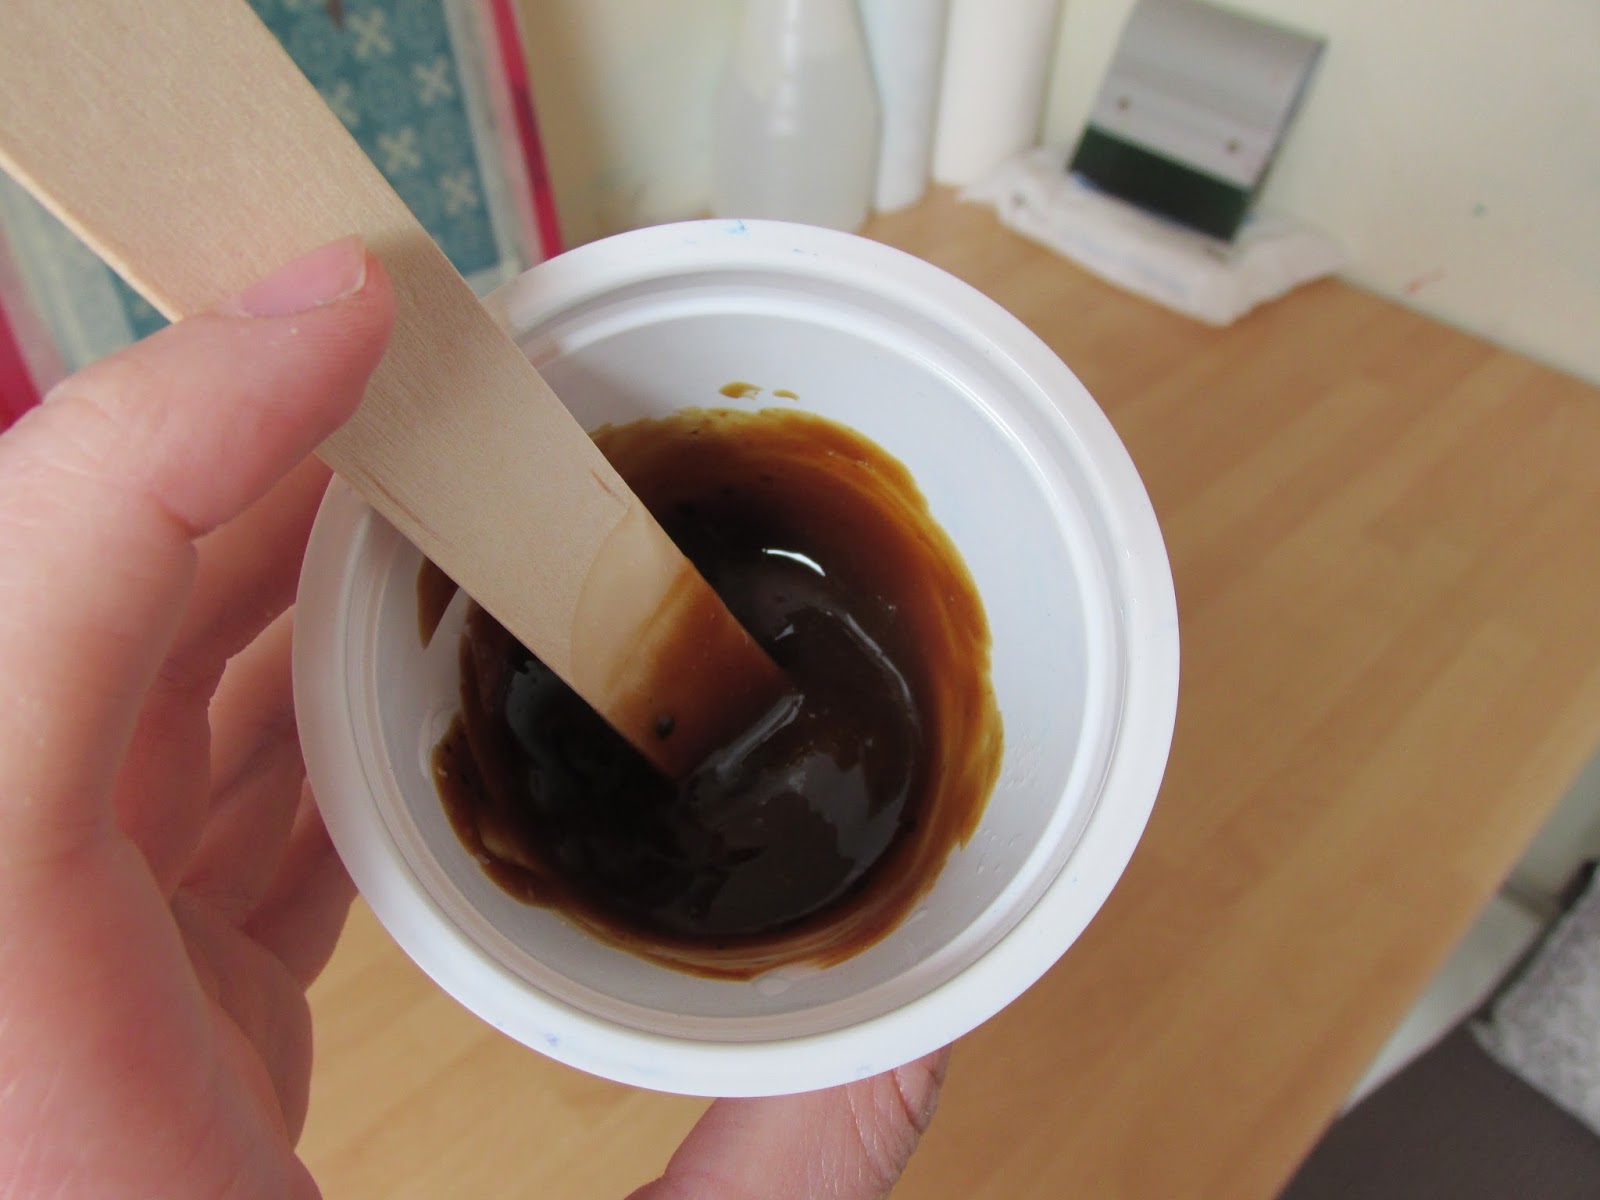
6. What ink do you use?

Acrylic based ink and fabric ink (yes you need a different type of ink for fabric). In the case of printing onto plastic I use a Gloss Vinyl printing ink.

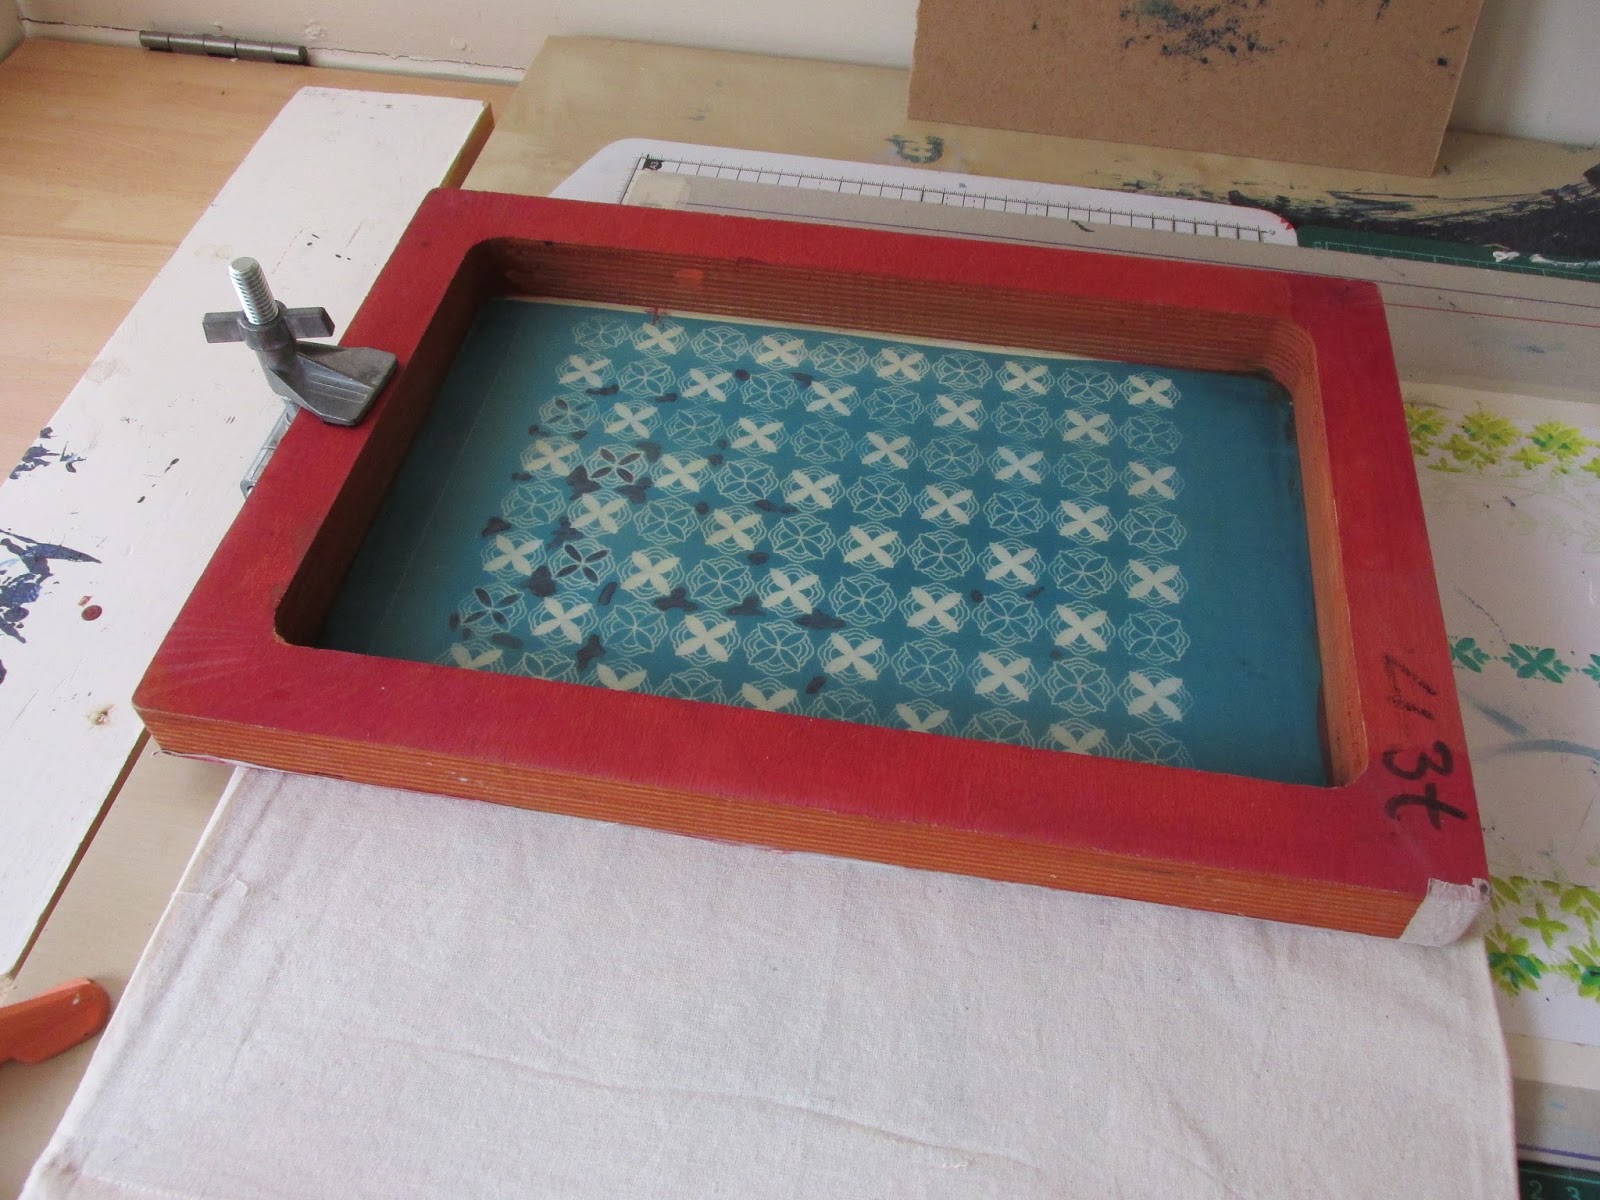
7. You use Photo Emulsion to screen print with, is that the only method?

No there are a range of different ways you do screen printing without the use of photo emulsion, for example you can use drawing liquid and screen filler to make your stencil or you can hand cut a stencil. Photo Emulsion is just my preferred method of screen printing.

8. Whats your maximum number and time frame for a print run?

On all the amounts mentioned below you must give at least 4 weeks notice before you need the products. This is to allow me to order in the materials, set up the equipment and print the run. any less I will not take on the job*.

Paper and Card - 500
Cotton Bags - 500
T-shirts - 100
Plastic/Acrylic - 50

*Only in exceptional circumstance will I print the run in short notice BUT even then I need 2 weeks notice.

9. What's your minimum number and time frame for a print run?

On the smaller runs I need at least 1-2 weeks notice before you need the items. This is to allow me to order in the materials, set up the equipment and print the run.

Paper and Card - 1
Cotton Bags - 5
T-shirts - 3
Plastic / Acrylic - 2

10. What if I need more than the maximum print run?

You will need to break the order up into smaller amounts

11. Why don't you print over these amounts?

Firstly the photo emulsion that I use on the screens will only last for so many prints before it starts to break up and I will start to lose the image.

Secondly I am working on my own and I print everything by hand (I don't have the luxury of a machine to do the printing). Also I can only store a certain amount of stock and printed items.

12. Why do I need to pay for Equipment set-up?

Each screen is set up using photo emulsion (which can be quite expensive), once the screen is coated I then need to turn your artwork into a stencil and print it of so it can be burnt onto the screen. The screen is then exposed using a halogen light for about 2 - 4 minutes. All this totals up to about a days worth of work before the printing has begun which means it needs to be paid for.

13. What Equipment do you use?

I use a silk screen, squeegee (to push the ink through), Ink and the material thats being printed.

14. Can you print all the colours at once?

If you want a colour gradient on the print then yes I print with more than one colour (this is called split fountain) otherwise no. I't not possible to print each colour at once as the colours will mix together and you will end up with one colour.

Printing more than one colour means that I print each colour once at a time, so for example if I was printing and image of a rainbow the red would be printed first and left to dry, then the yellow would be printed and left to dry and so on.

If you have any more questions make sure to leave them as a comment or you can send me and email with any queries.


Monday 1 June 2015

I'm now on Youtube!!

I have been going back and forth with the idea for a while about uploading videos to youtube or a long time and I have decided to take the plunge and start my own channel.

As screen printing isn't very wisely known I find it has become easier to show people what screen printing is (rather than try to explain it or show them through pictures). This is what prompted me to take the leap and start making short videos showing what screen printing is all about. I will be uploading a selection of videos from screen printing, book binding techniques and drawing videos.

If you are interested in checking my youtube channel out here's the link:
https://www.youtube.com/channel/UCEj0z3-Ui22GvcJzgAGyIJA

Also here's a look at one of the videos featured on my channel:


Monday 18 May 2015

How to make a Hard Cover for a book

To make a hard cover you will need:
- Text block
- Card / Board
- Book cloth or Paper to cover the card
- Glue
- Brush

Start of my placing your text block onto the card and draw some marks around it. You then need to measure about 2 - 3mm (depends on the space you want form the text block to each side) from the top, bottom and from one side and draw a line, this is your cutting line. Remember you need to one board for the front and one for the back.


Using any spare card cut out a a piece of card for the spine (if your book requires one). To do this measure the width of the spine on the text block and cut a piece of card to those measurements.

Next take your book cloth or paper and place the card onto, making sure that the pieces are all in line and there is a space between the front and back pieces and the spine, I normally leave a space just a touch bigger that the thickness of the card.


Mark where the card is on the cloth and apply glue to one side of the card and place back on the cloth where you have drawn your marks.


Once the card is stuck to the cloth you need to work fairly quickly as the card will start to warp (depending on the type of glue you have used). 

Cut away the excess material leaving about 1 - 2inches around the sides to fold over the card. Don't worry to much about the material being straight as the end papers will cover it.


Starting with one the edged apply a layer of glue and fold the material over onto the card making sure that it is smoothed and there's no bubbles. Next glue down the opposite side before moving on to the other sides i.e glue the shortest sides first before the longest sides.


At the corners fold over the material and create a crease at the edge of the board (pictured below) this will create the corner when you fold the other side over.


Apply glue to the other side and fold it over onto the board making sure that folded piece of fabric from the previous picture stays tucked underneath. Do this to all 4 corners.


Make sure that you crease the material on the spine.


Once you have glued everything down place the cover under some heavy books or in a press for about 24 hours so it has enough time to fully dry and prevent warping.


That's it!! now you can glue your text block into the cover.