Showing posts with label screen printing. Show all posts

Sunday, 7 June 2015

Screen Printing with Coffee!

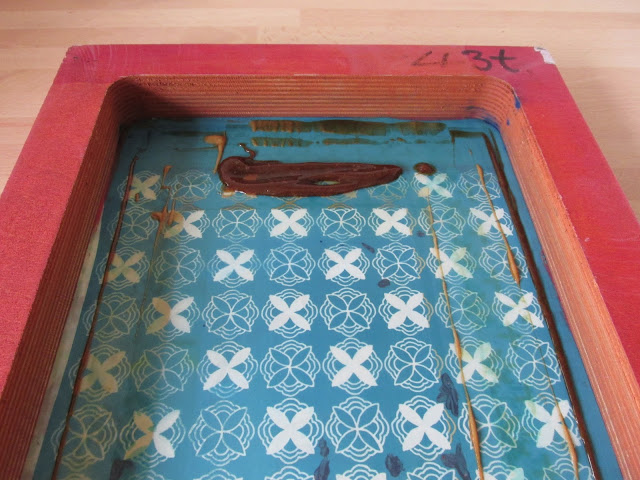
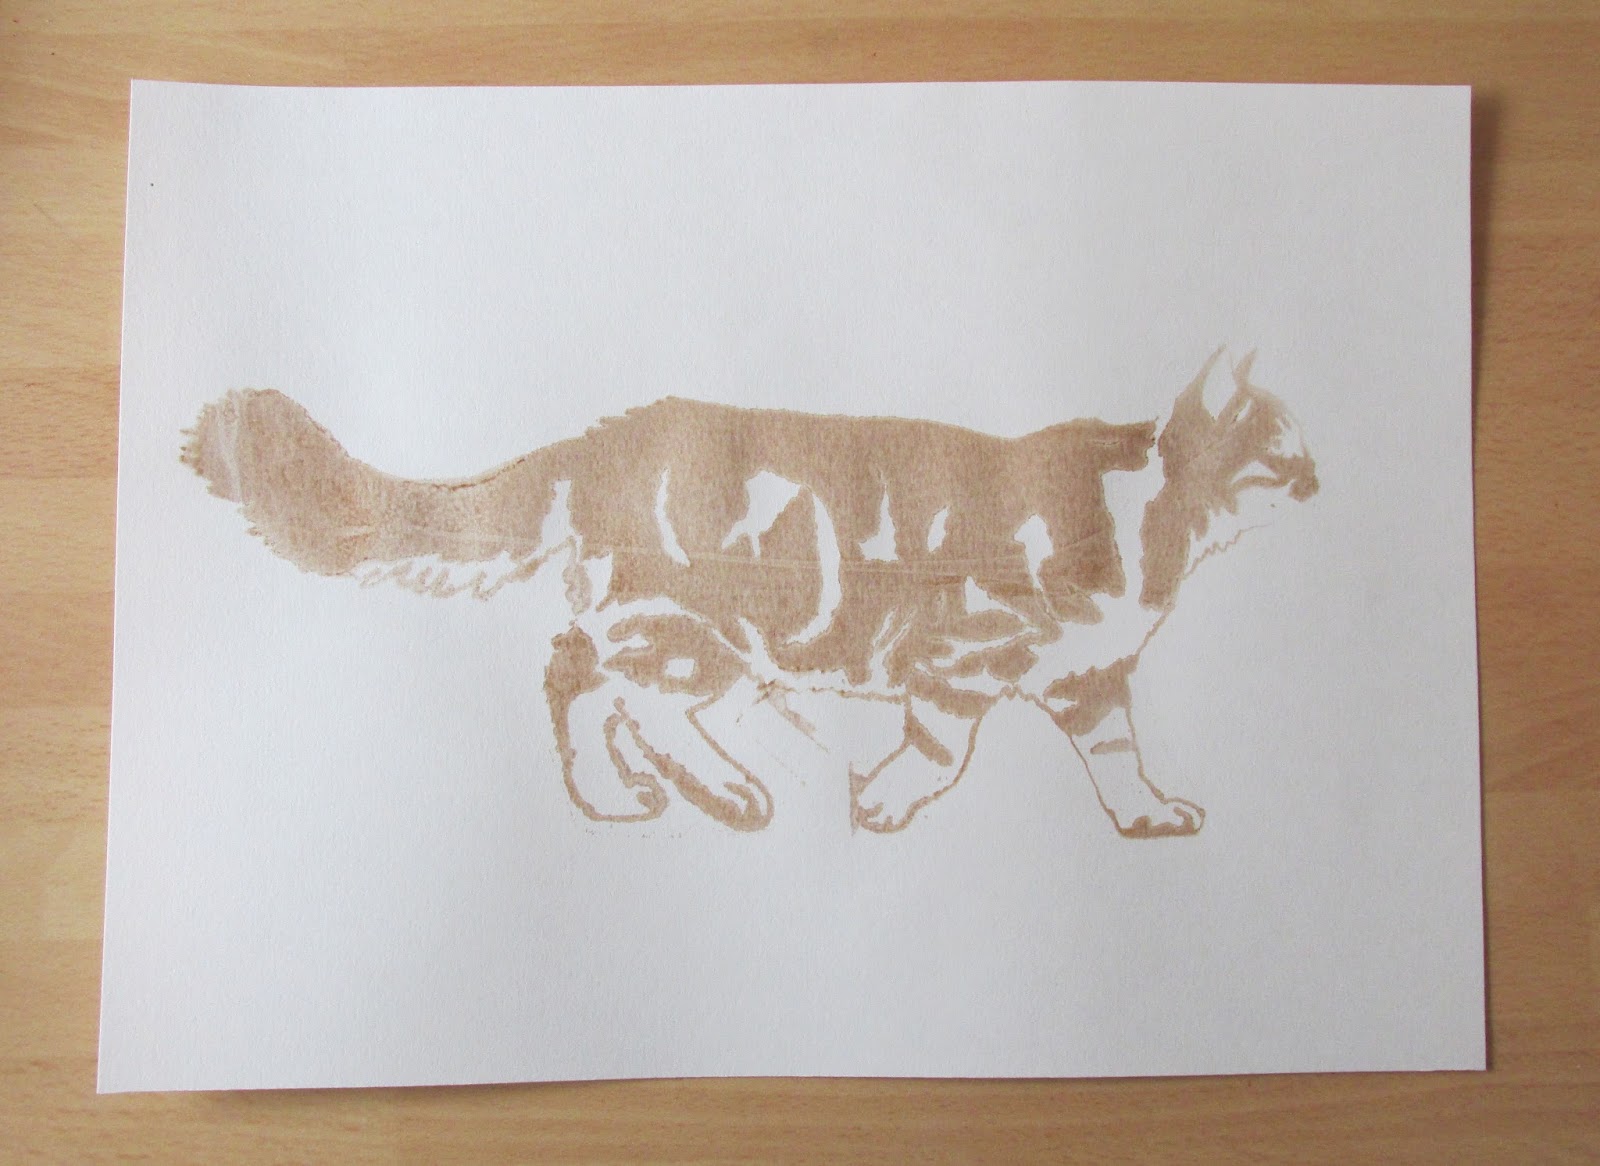
Did you know that you can print using other materials besides just ink? As long its liquid and can be pushed through a screen you can pretty much print with it, for example you can print with PVA Glue (and then sprinkling glitter over the printed area on the paper), Glow in the  dark paint, food colouring, pureed food etc. I all depends on far you are willing to experiment with different materials.

For the demonstration I printed using a Coffee and printing medium mix. As the coffee isn't a liquid mixing it with the printing medium helps to turn it into a liquid that will easily be pushed through the mesh. The smell of coffee does linger on the paper for a while but it eventually disappears, if you wanted the smell of coffee to remain it would be worth experimenting with a stranger coffee and maybe creating a mix that has more coffee than printing medium. 


You can also watch a video of me printing with the coffee here: 

Friday, 5 June 2015

Screen Printing FAQ

I get many questions about the screen printing process and how it's done so I thought I would address some of those questions here on the blog.

Note that the answers are relevant to the processes that I do and each screen printer will/may have a different process to me.

1. What is Screen Printing 

In short it's method of printing that uses mesh material wrapped around a frame, an image is burnt onto the mesh and using a squeegee ink is pushed through the mesh to print the image.

For a more detailed answer check out my other blog post: http://helenjtaylordesign.blogspot.co.uk/2014/06/what-is-screen-printing.html

or you can check out some of the videos I have made on youtube: https://www.youtube.com/channel/UCEj0z3-Ui22GvcJzgAGyIJA

2. What materials can you print onto?

I currently print onto any paper or card stock, fabric (cotton bags and t-shirts) and Plastic/Acrylic sheets.

3. What if I want to have something screen printed onto a material not mentioned?

Get in touch at helenprintdesign@gmail.com with a description of what the material is and I can see if it's possible.

4. Can you print onto rounded objects?

No because of the nature of the screens the material needs to flat or relatively flat to be able to print onto it.

5. Do you print using machines?

No I print everything by hand

6. What ink do you use?

Acrylic based ink and fabric ink (yes you need a different type of ink for fabric). In the case of printing onto plastic I use a Gloss Vinyl printing ink.

7. You use Photo Emulsion to screen print with, is that the only method?

No there are a range of different ways you do screen printing without the use of photo emulsion, for example you can use drawing liquid and screen filler to make your stencil or you can hand cut a stencil. Photo Emulsion is just my preferred method of screen printing.

8. Whats your maximum number and time frame for a print run?

On all the amounts mentioned below you must give at least 4 weeks notice before you need the products. This is to allow me to order in the materials, set up the equipment and print the run. any less I will not take on the job*.

Paper and Card - 500
Cotton Bags - 500
T-shirts - 100
Plastic/Acrylic - 50

*Only in exceptional circumstance will I print the run in short notice BUT even then I need 2 weeks notice.

9. What's your minimum number and time frame for a print run?

On the smaller runs I need at least 1-2 weeks notice before you need the items. This is to allow me to order in the materials, set up the equipment and print the run.

Paper and Card - 1
Cotton Bags - 5
T-shirts - 3
Plastic / Acrylic - 2

10. What if I need more than the maximum print run?

You will need to break the order up into smaller amounts

11. Why don't you print over these amounts?

Firstly the photo emulsion that I use on the screens will only last for so many prints before it starts to break up and I will start to lose the image.

Secondly I am working on my own and I print everything by hand (I don't have the luxury of a machine to do the printing). Also I can only store a certain amount of stock and printed items.

12. Why do I need to pay for Equipment set-up?

Each screen is set up using photo emulsion (which can be quite expensive), once the screen is coated I then need to turn your artwork into a stencil and print it of so it can be burnt onto the screen. The screen is then exposed using a halogen light for about 2 - 4 minutes. All this totals up to about a days worth of work before the printing has begun which means it needs to be paid for.

13. What Equipment do you use?

I use a silk screen, squeegee (to push the ink through), Ink and the material thats being printed.

14. Can you print all the colours at once?

If you want a colour gradient on the print then yes I print with more than one colour (this is called split fountain) otherwise no. I't not possible to print each colour at once as the colours will mix together and you will end up with one colour.

Printing more than one colour means that I print each colour once at a time, so for example if I was printing and image of a rainbow the red would be printed first and left to dry, then the yellow would be printed and left to dry and so on.

If you have any more questions make sure to leave them as a comment or you can send me and email with any queries.


Monday, 1 June 2015

I'm now on Youtube!!

I have been going back and forth with the idea for a while about uploading videos to youtube or a long time and I have decided to take the plunge and start my own channel.

As screen printing isn't very wisely known I find it has become easier to show people what screen printing is (rather than try to explain it or show them through pictures). This is what prompted me to take the leap and start making short videos showing what screen printing is all about. I will be uploading a selection of videos from screen printing, book binding techniques and drawing videos.

If you are interested in checking my youtube channel out here's the link:
https://www.youtube.com/channel/UCEj0z3-Ui22GvcJzgAGyIJA

Also here's a look at one of the videos featured on my channel:


Monday, 11 May 2015

Starflower Print Experiments #1

I have recently been getting back into the flow of experimenting more with screen printing, particularly using colour overlays with the starflower pattern that I made (it's called starflower because it reminds me of both a star and a flower)Below are some of examples of the print experiments I have been working on over the past couple of days, the finished prints will be turned into notebook covers and I may do a run of scrapbook paper as well. 
Let me know what you think


The darker green in this image is a metallic ink.

comparing the colour on yellow and white card stock.

colour overlay of dark green, light green and yellow.


I like that if you look closely you can see the dots from the silk screen.

Monday, 4 May 2015

Puffin Test Prints

Here's a sneak peak at a new puffin print I am working on.


Wednesday, 18 February 2015

Screen Printing Techniques - Printing with watercolours

This is my first attempt at using watercolour to print with instead of acrylic ink. It's pretty simple process and I really like the outcome of this method.

First you need watercolour paints and your chosen screen.


I then painted the watercolour onto the screen and I let it dry for a couple of minutes.


Once the watercolour had dried I put some printing medium onto the screen, just normal acrylic printing medium, and pulled it across the screen.


I found that I can get between 2 - 5 prints using this method, I love how each print becomes more and more transparent as you print and I think this would be great to use to layer colours on the paper to create depth.

Below are the results of my first attempt using this method.


Tuesday, 3 February 2015

Screen Printing techniques - Blending colours on the screen

I have been trying to incorporate some new techniques into my screen printing projects so that I am not always working with flat colour. One technique I have been experimenting with is colour blending on the screen. It's a technique that I haven't in a long time and is one of my favourite techniques to use as the end are usually quite impressive.

To start off you need to lay down the colours that you wish to use, so here I have gone with yellow and orange. You can use as many colours as you wish.


You then need to mix the two colours together with the squeegee so that they start to blend together.


After that just pull the ink across the screen as you would normally do. The first print tends to have a bit of a harsh line where the colours meet but as you continue to print the colours will blend into each other perfectly.


Below are the end results!


Tuesday, 20 January 2015

DIY Drying Rack

One of the biggest problems that I face with working from home is space. I currently work in a studio in the garden that is 8ft x 5ft and everything is done in this space from printing to bookbinding and having multiple projects on the go can be a challenge in that space. I have looked into different options to create a drying rack in my studio but nothing seemed to look as though it would suit the limited space that I have.

The solution that I came up with was to place a strip of wood that was roughly the depth of my studio and attach some old clothes pegs to it so that the prints can be hung up to dry.


It's not the best looking of things but it works and I am really pleased at how it turned out!

Sunday, 14 September 2014

Printing on Acrylic

I recently tried out something new and I have branched out into printing on acrylic! I purchased some gloss and vinyl screen ink in order to print onto the acrylic so that there is less chance of the ink being washed off or scratched off. I am really pleased with the outcome of the sample and I am now willing to offer this as a service in my business.

There are a couple of down sides though to printing with vinyl inks, firstly you have to use a thinner with the ink to stop it drying soo quickly (which means wearing a mask). The ink can also be hard to wash off your screen and squeege so you have to work quickly (and use some more thinner to remove it from the screen). It is safe to though that the ink on the acrylic isn't going anywhere.


Saturday, 30 August 2014

Printed Pattern Fabric Sheets

Today I took the plunge and tried printing some patterns onto sheets of fabric. The fabric I used was a canvas type fabric that I picked up at my local haberdashery. Once the sheets are done I think I may try and make a small pouch to see how well the fabric and the print will hold up.

I started out by cutting the fabric down into 4 sheets and then ironing them so they were a wrinkle free as possible.


I used the Speedball fabric printing ink in red


The final sheet!


The down side is that there is a bit of bleed through on the back, so I may try out a slightly thicker fabric next time round.


I did also try out printing a cloud pattern, although this fabric isn't quite finished.


Friday, 22 August 2014

Notecards

Keep with the theme of stationary I printed some notecards with the toadstool pattern and a new design of a mountain range. The cards are A6 in size which makes them the same size as the notebooks.


Monday, 18 August 2014

Toadstool Notebook Design

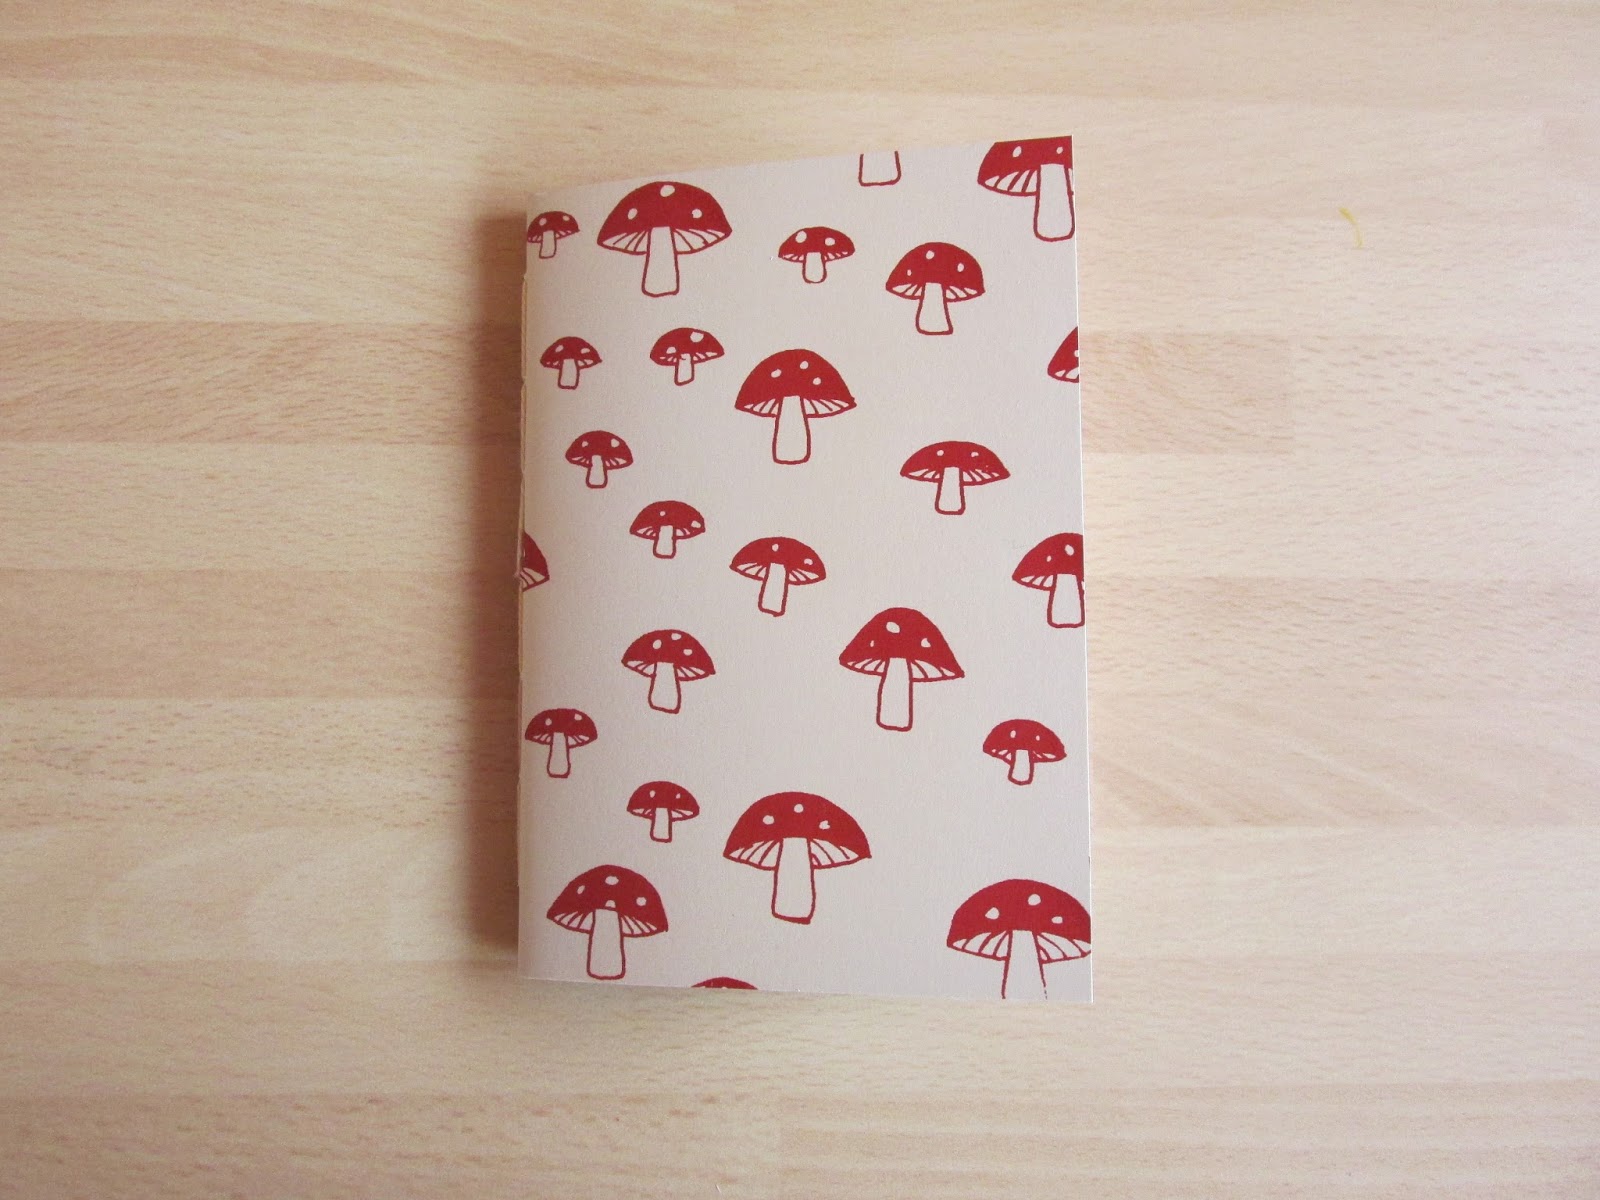
I wanted to do something a little different from the paper airplanes and I drew out a toadstool pattern for some notebooks. I know toadstools are a bit of an odd choice but I have always liked the quirky look of toadstools and I always associate them with fairytales. Just like the paper airplane notebooks I screen printed each of the covers first and then hand stitched the notebooks together.